Getting Started
For now, the MOCAP4ROS2 packages are not available as deb packages in any ROS2 distribution, so you must install them from source. The main branches of each repository usually point to the latest distribution available on ROS2.
MOCAP4ROS2 supports motion capture systems, most of which are commercial. Normally, you should now go to one of the sections that explains how to install and configure the particular system you have, but for this “getting started” section, we’re going to use the driver for gazebo.
Clone in your workspace the following repositories:
mocap4ros2_ws$ mkdir src && cd src
mocap4ros2_ws/src$ git clone https://github.com/MOCAP4ROS2-Project/mocap4ros2_gazebo.git
mocap4ros2_ws/src$ git clone https://github.com/MOCAP4ROS2-Project/mocap.git
Install dependencies
mocap4ros2_ws/src$ vcs import < mocap/dependency_repos.repos
mocap4ros2_ws$ cd .. && rosdep install --from-paths src --ignore-src -r -y
Build workspace
mocap4ros2_ws$ colcon build --symlink-install
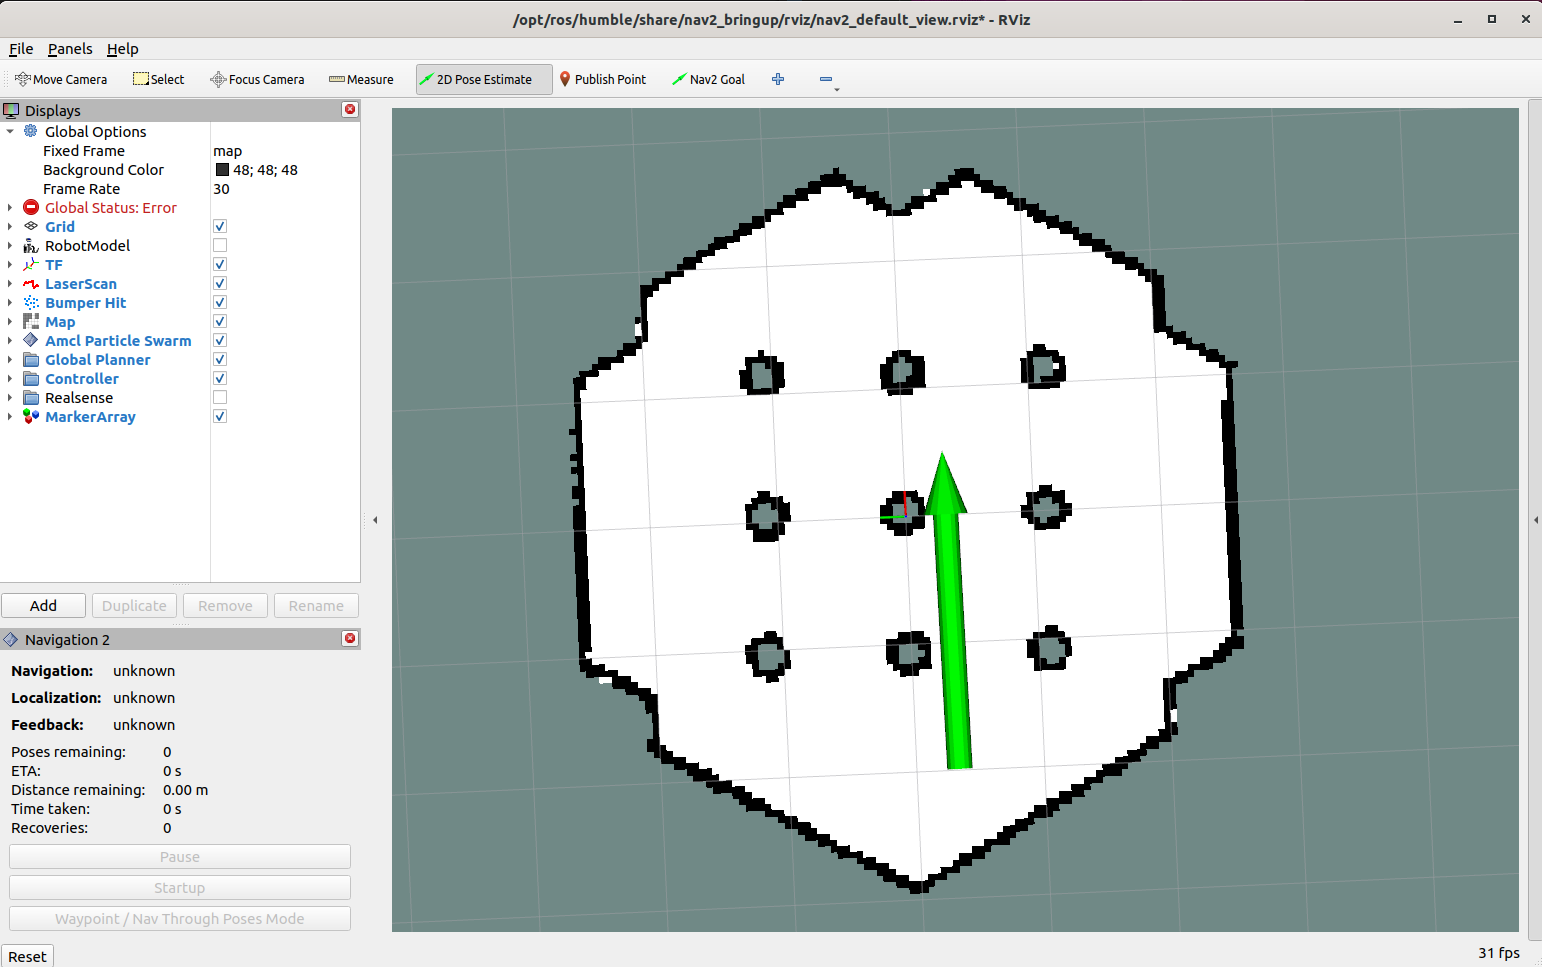
Run the simulator with “a marker”. Remember to use the “2D Pose Estimate” tool in Rviz2 (in toolbar) to set the robot position (it is around (X: -2, Y: -0.5, Yaw: 0.0) ).
Note
Ensure you have installed the Turtlebot3 packages to get the gazebo models
sudo apt install ros-humble-turtlebot3*
Remember to correctly set the GAZEBO_MODEL_PATH in order to found the gazebo models.
export TURTLEBOT3_MODEL=waffle
export GAZEBO_MODEL_PATH=$GAZEBO_MODEL_PATH:/opt/ros/humble/share/turtlebot3_gazebo/models
export GAZEBO_MODEL_PATH=$GAZEBO_MODEL_PATH:/home/<your-user>/mocap4ros2_ws/install/gazebo_mocap_plugin/share/gazebo_mocap_plugin/models/
mocap4ros2_ws$ source install/setup.bash
mocap4ros2_ws$ ros2 launch gazebo_mocap_plugin tb3_simulation_launch.py
|
|
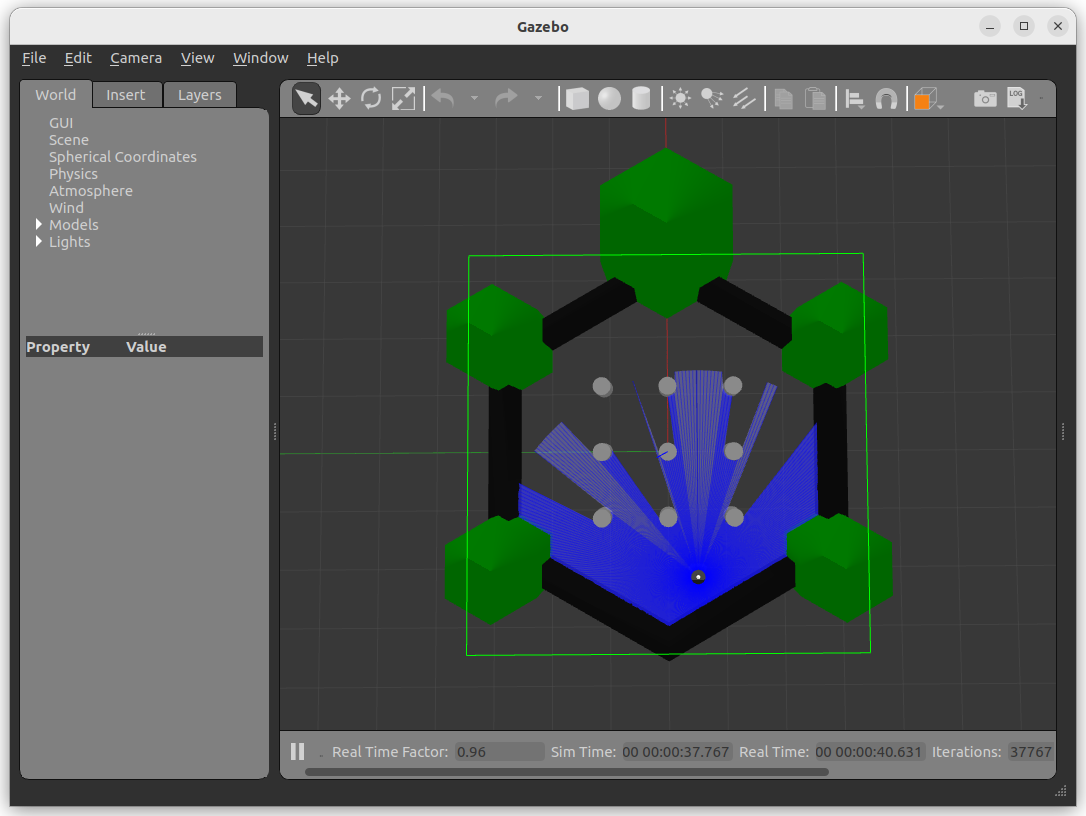
Run gzclient if you want to see the simulation.
mocap4ros2_ws$ gzclient
|
Run RQT Gui and load the MocapControl plugin under “Plugins -> MOCAP4ROS2 -> Mocap Control”
mocap4ros2_ws$ ros2 run rqt_gui rqt_gui --force-discover
|

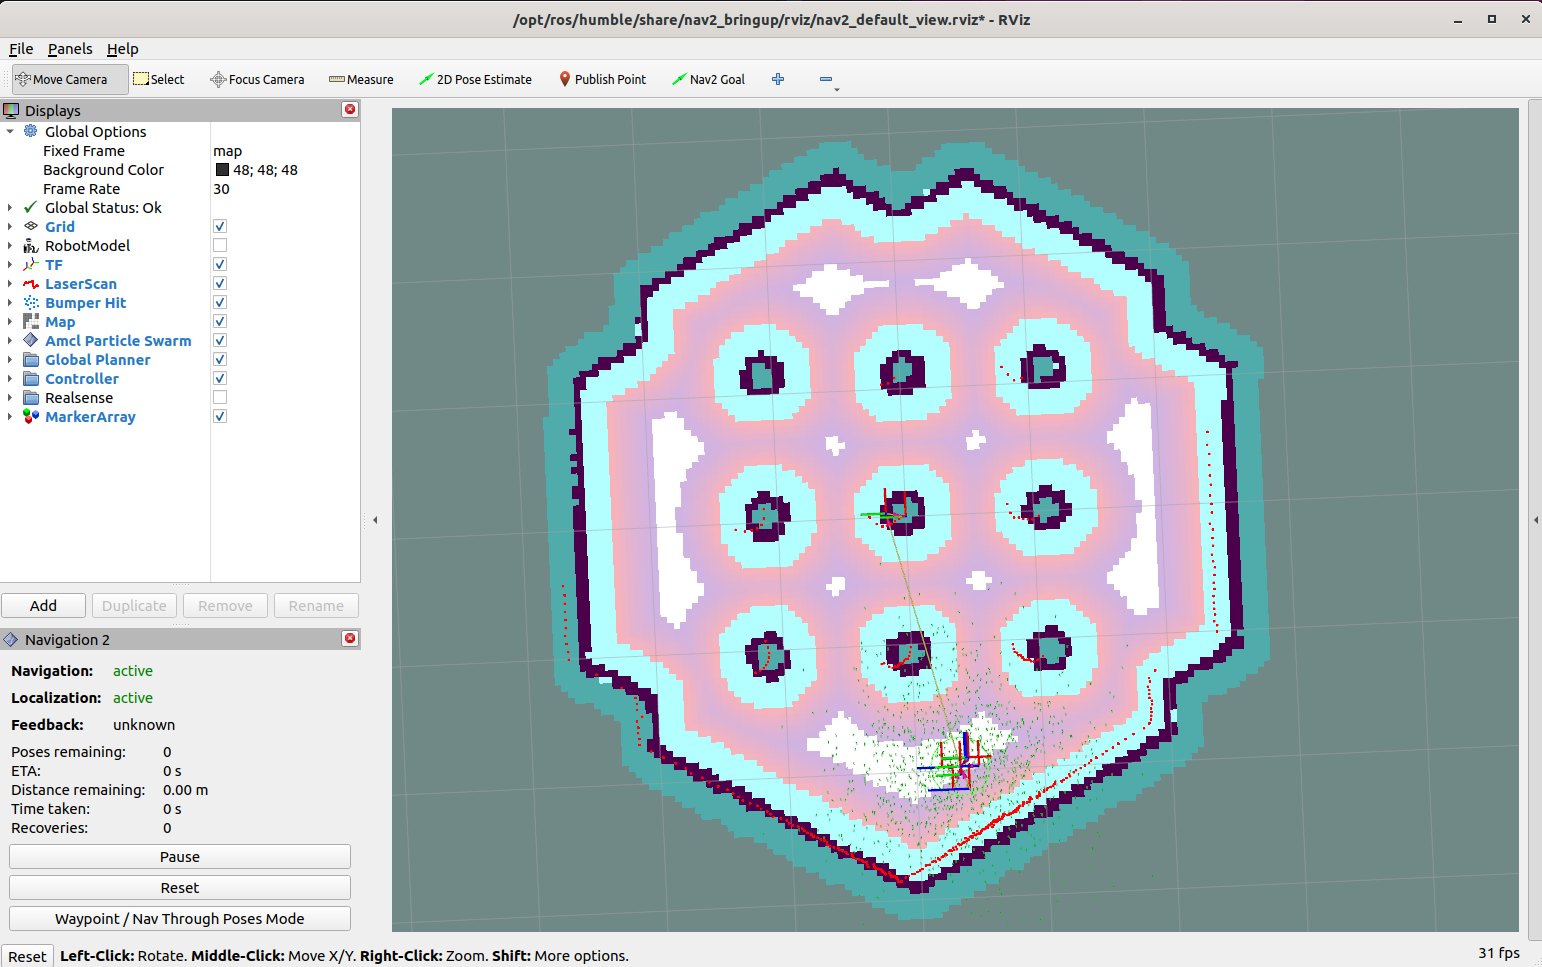
Press the button “Start” in MocapControl and check that markers and rigid bodies are being published:
ros2 topic echo /markers
ros2 topic echo /rigid_bodies
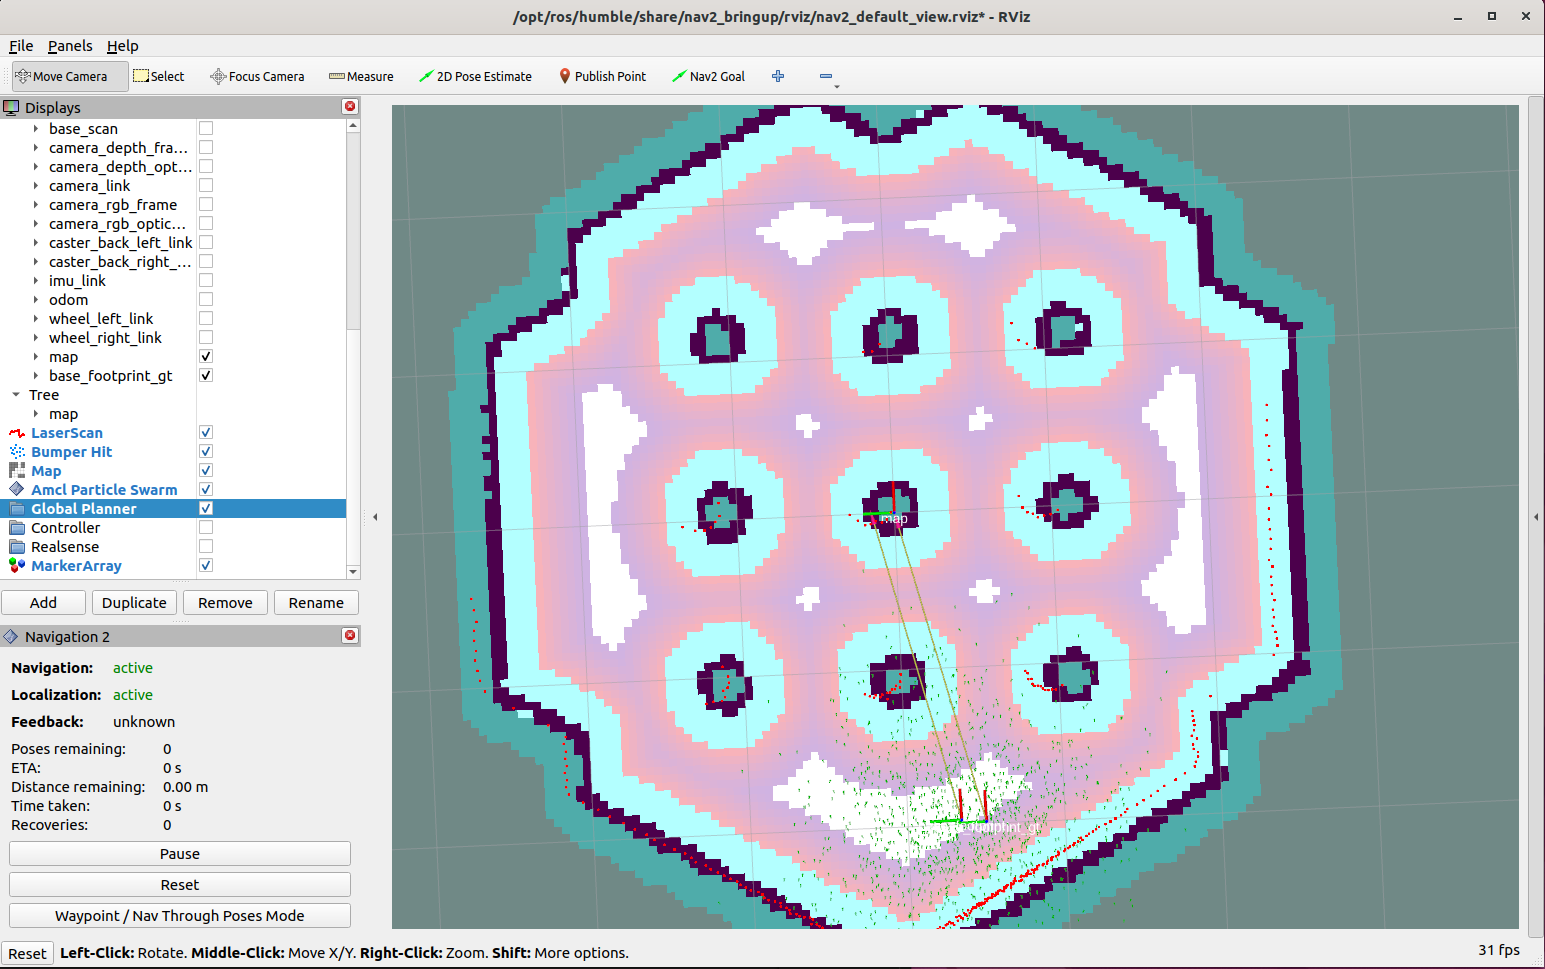
Now, lets use an app that takes the rigid body position and orientation, and publishes a TF representing the ground truth of the robot:
ros2 run mocap_robot_gt gt_program --ros-args -p root_frame:=map
Check in Rviz how a new frame, base_footprint_gt exists and is the real robot position. Move the robot and see how this TF track the robot position.
|
Press the button “Stop” in MocapControl to stop the gazebo mocap.